
Building a 4x5 pinhole camera
I am not trying to write an exhaustive article about pinhole photography, its history or the different ways to build a camera. That would be far too long, and others have done it much better before me. I simply wanted to share…
I am not trying to write an exhaustive article about pinhole photography, its history or the different ways to build a camera. That would be far too long, and others have done it much better before me. I simply wanted to share my experience of using, building and photographing with one.
I discovered this technique while working as an assistant to Anthony Browell, an Australian photographer known for his pinhole work. An architectural photography specialist, he uses film pinhole cameras alongside digital equipment to offer a different style of image in addition to his commissioned work for magazines and architecture firms. He also photographs landscapes and nudes.

During a shoot in 2008 on Hayman Island, a small island in Australia’s Whitsunday group, I tried an 8×10 pinhole camera and loved it. I tried it again in 2010 in Sydney’s Centennial Park while preparing an exhibition.


Some photographs by Anthony Browell
Cap Taillat — Ramatuelle
Back in France, I wanted to try the process myself, starting by building a 4×5 camera. I liked the idea of a large format so I could make some prints directly by contact. I wanted very wide-angle images, so my first design was very shallow. After plenty of research and online reading, I found Pinhole Photography: From Historic Technique to Digital Application, a book with a great deal of both historical and practical information.
The first design decision was the angle of view. What did I want the final image to look like? I had an ultra-wide angle in mind, so with a little program called Pinhole Designer (see my article about it), I chose a focal length of 32mm on 4×5 film, equivalent to 8mm on 24×36. With that focal length in mind, I calculated the ideal pinhole diameter: 0.25mm. That gave me an effective aperture of f/128.
You can make the pinhole by hand — the book contains plenty of information about that — but I preferred to buy the disc from a specialist: Sténocamera. For the modest sum of €13, I received a very well-made pinhole disc at home. I recommend it.


Then came the construction: 4 pieces of wood, glue, a caliper, and off we went. Being reasonably handy, I did not find it too difficult, even if the result is rather rudimentary. A metalworker friend made the tripod mount, and I was finally ready to shoot.
Pinhole photography does require patience, however: the first attempts can be a little chaotic. Exposure times need to be worked out. Once again, Pinhole Designer proved useful. It calculates exposure times from the aperture value — f/128 in my case.
It converts a reading taken at f/22 to the exposure needed at f/128, then corrects for reciprocity failure, which extends exposure times according to the film used. I mainly use Fomapan 100, sometimes rated at 200 when the exposures become too long.
I marked these times on the back of the camera as a reminder.


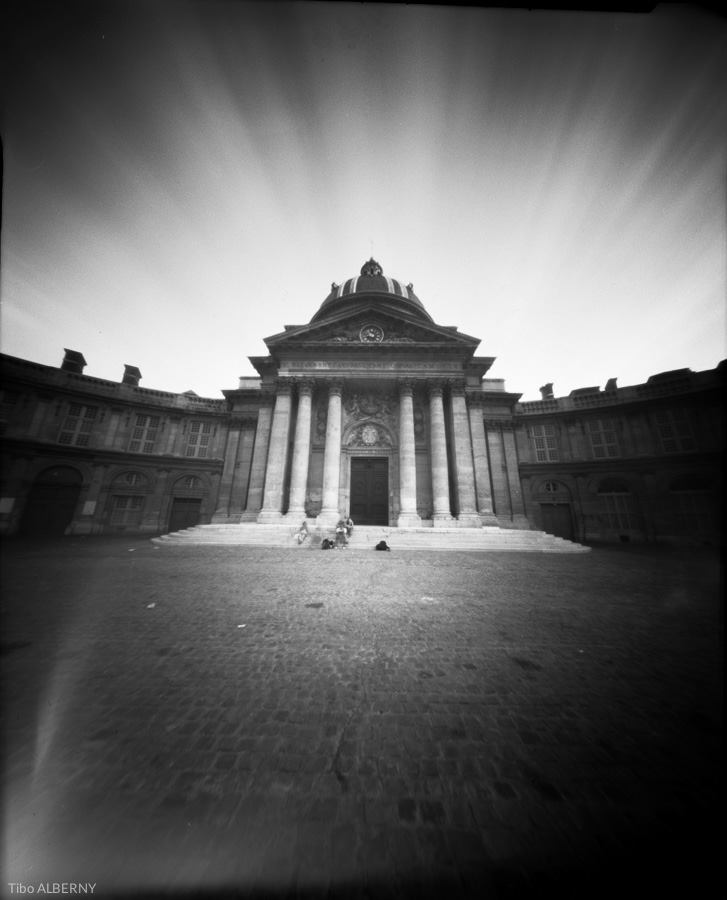
To finish, here are a few photographs I made with this camera.